1. Jungle
6 Secrets, xx Resources 1 Key (Indra Key), xx Opponents (harmless Baboons, Piranhas, Tigers) Gaming Time 40 minutes Important Notice: Do not shoot the baboons in this level. They remain harmless as long, as you do not hurt them. This means any stray bullet hitting a baboon will end this fragile friendship. They may guide you towards levers or items; occasionally might steal a medi pack or an artefact, only to place it somewhere else.
Spikes
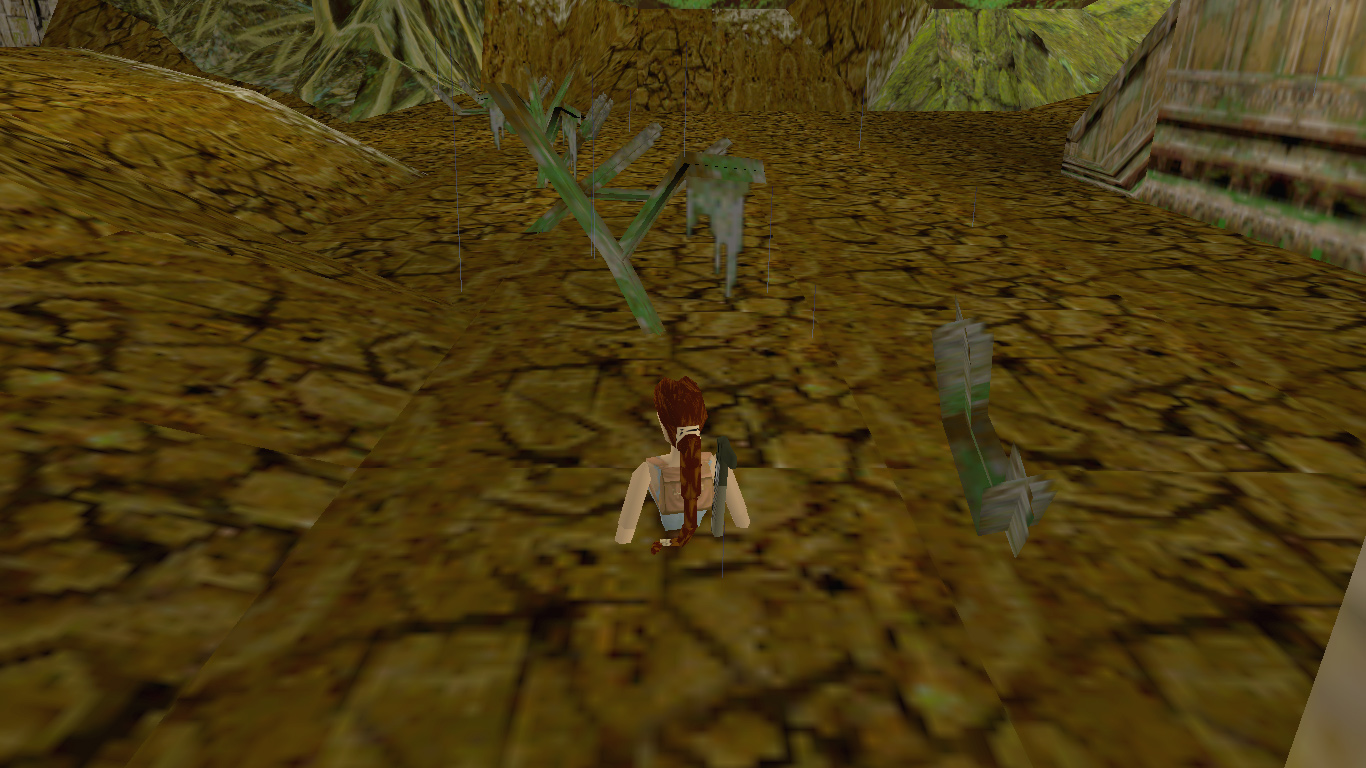
At the beginning of the level, Lara stands on top of a slope.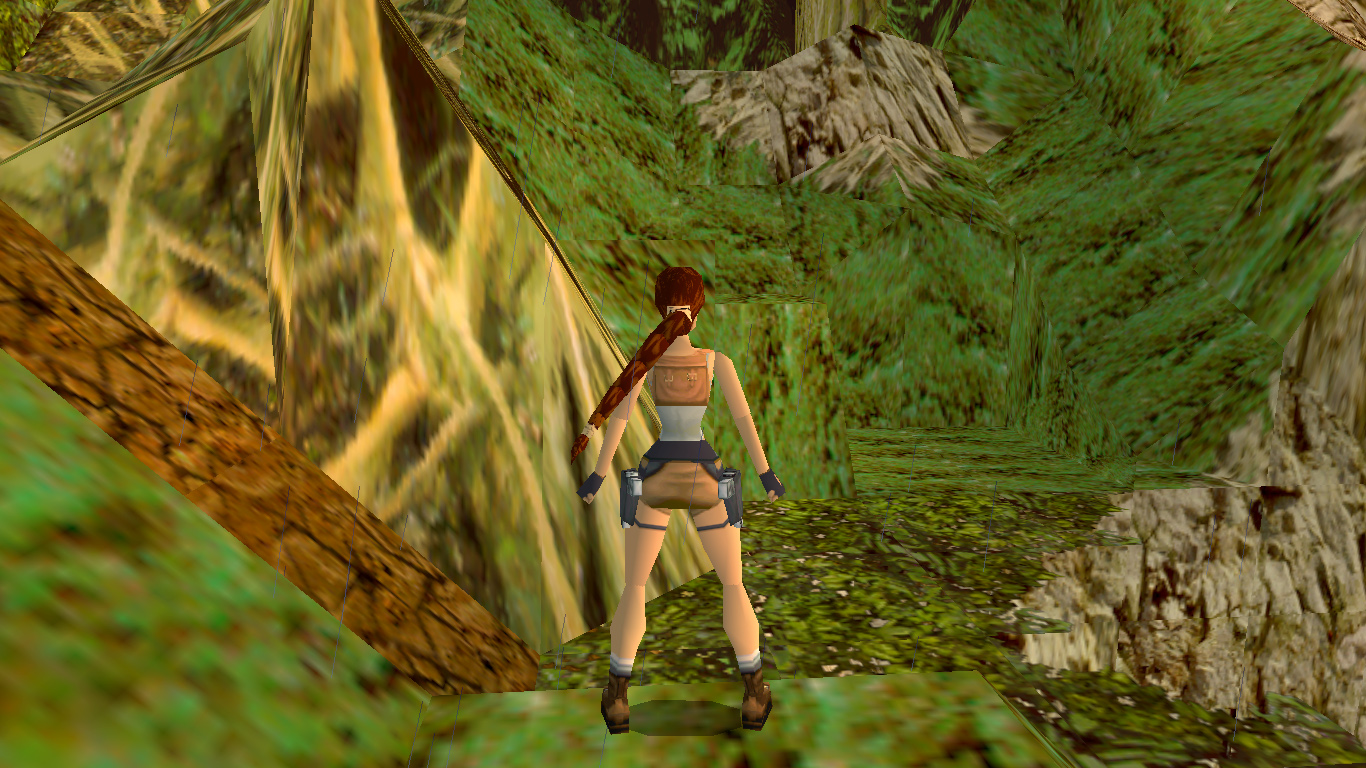
Sideflip: Go towards the right edge and stand with your back towards it, as close to the tree as possible. Then perform a side-flip to the right to get past the tree roots.
Curved Running Jump: Go towards the right edge and stand in the corner, facing the brown tree trunk. Now hop back. Then run forwards and press jump. While in the air press left to steer Lara in that direction, just to make sure.
Hop up towards the leaves (this is where you should hear the secret chime) and run along to the right. Collect some Shotgun Shells and a Medi/Save Crystal. (This is where the difference between the PC and the Console Version gets unfair. PC gamers will find a crystal here that replenishes their health - as if we've lost any yet - while console gamers can collect this crystal to use it up later for saving their game. That's right, console gamers get a limited amount of saves throughout the game. Seems spiteful, but look at it this way: We console gamers have become tougher raiders because of things like these. I know this has prepared me for many Trophy challenges later. Now climb down to the grey rocks on this side here. Slide back to the muddy part.
Courtyard
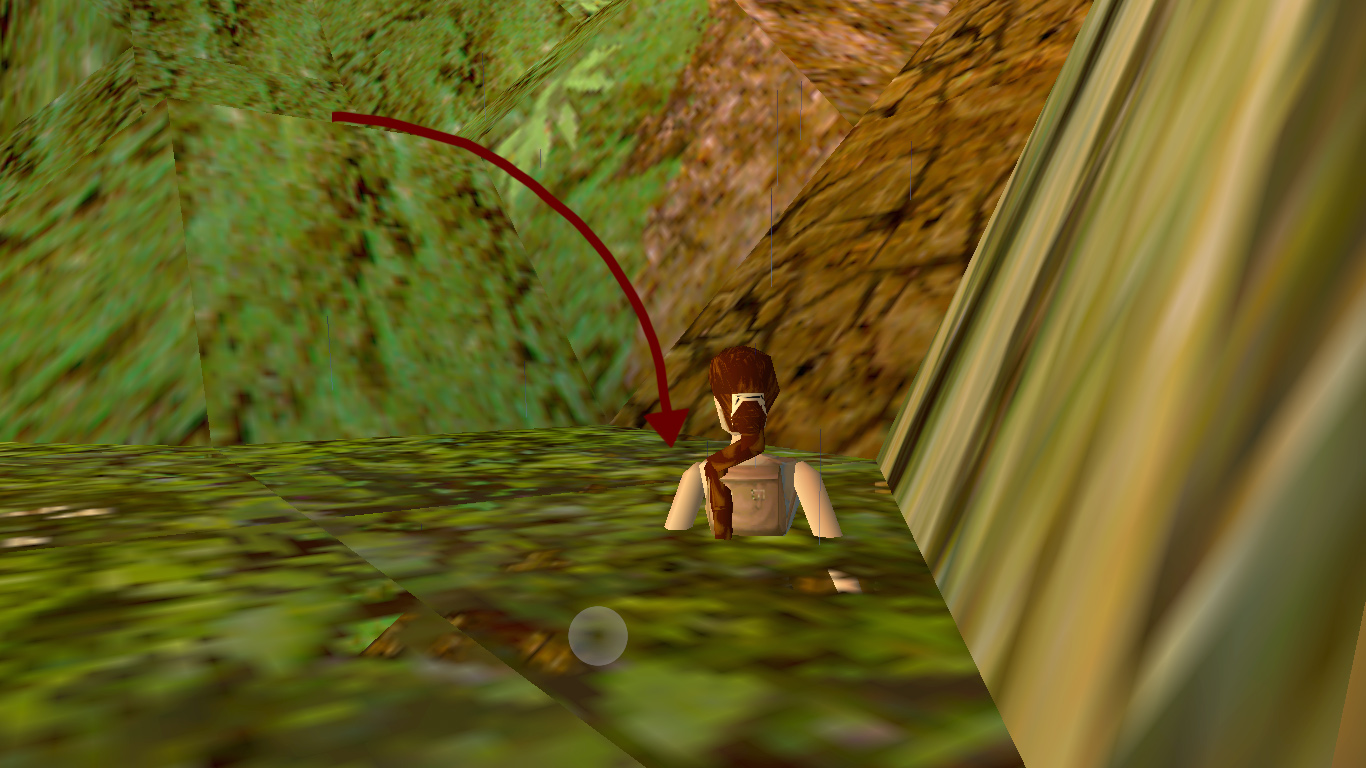
You are now at the foot of the giant slope and can explore the ruins. The area to the left only holds some goodies and a secret. Return to where you came down. Now jump down into the courtyard on the right. You can see the monkey stealing a small Medi Pack. Follow him into the hidden passage. (See first picture! Click for a larger image.) Turn to the right twice. Here you can pick up the small Medi Pack. Then follow the passage further and use the lever at the wall to open a door behind another tree trunk. Now you can jump into the water to take another way back into the courtyard.
The current will transport Lara into an underwater cave. On the right is a passage, just underneath you can find another small Medi Pack, very hard to see. (Look at the second picture. Click for a larger image.) Dive into the passage on the right and follow it. Climb out and turn left. Take the passage back into the courtyard.
Return to where you came down. Now jump down into the courtyard on the right. You can see the monkey stealing a small Medi Pack. Follow him into the hidden passage. (See first picture! Click for a larger image.) Turn to the right twice. Here you can pick up the small Medi Pack. Then follow the passage further and use the lever at the wall to open a door behind another tree trunk. Now you can jump into the water to take another way back into the courtyard.
The current will transport Lara into an underwater cave. On the right is a passage, just underneath you can find another small Medi Pack, very hard to see. (Look at the second picture. Click for a larger image.) Dive into the passage on the right and follow it. Climb out and turn left. Take the passage back into the courtyard.
Slide
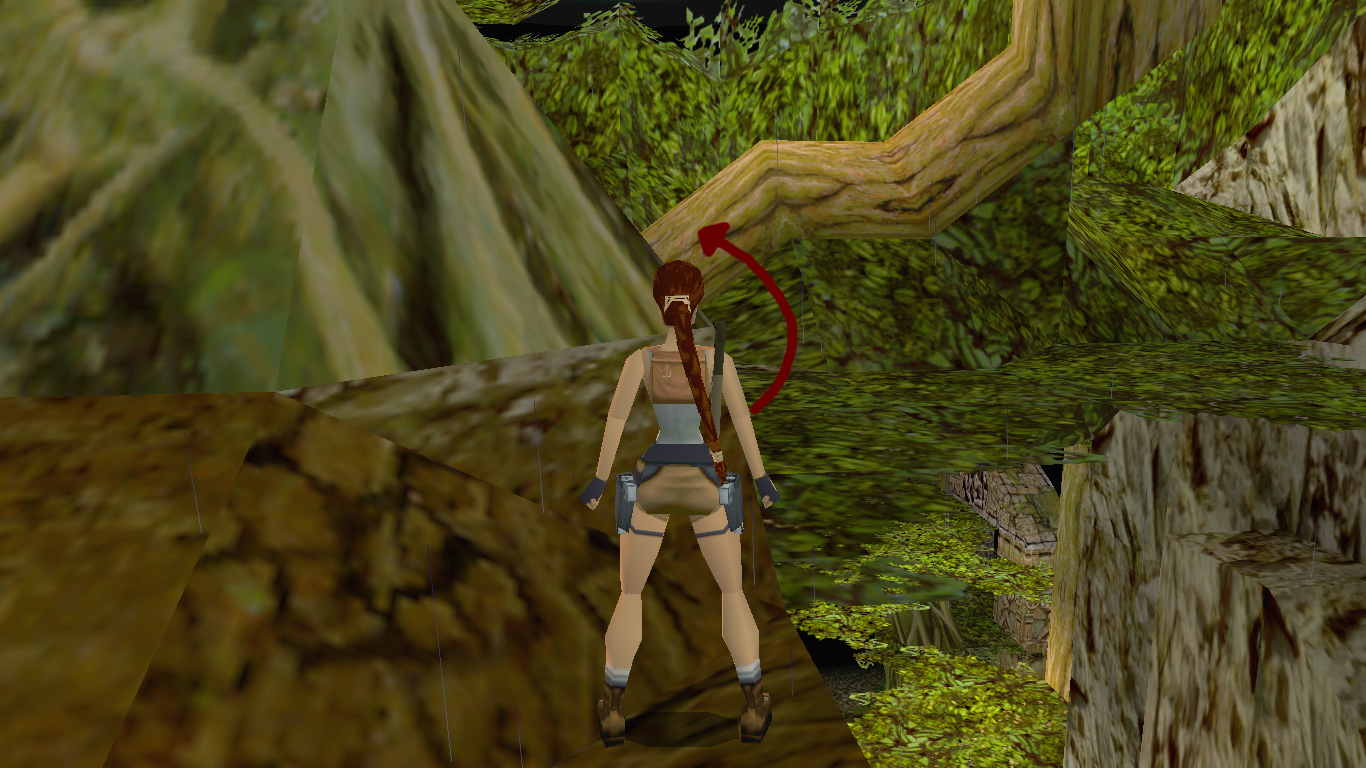
Climb onto the tree root at the wall where you came down. (See picture.) Behind the tree, a door has opened. Climb in. The door will close behind you. (On the left is a spiked wall.) Turn right. On the left wall is a lever. Use it. This will trigger the spiked wall. Quickly turn around and jump into the window opposite to get out of the way of the spikes. When the spiked wall got past leave the niche again and run to the left. Climb into the dark alcove and grab the slide on the ceiling there. This will take Lara over the river to another tree root. (If Lara drops into the water, she will end up in the underwater cave again. Danger: Piranhas!) Climb onto the root and make a running jump to get into the opening in the next tree. (Last picture below.)a. Lever and Boulders
Jump down. Draw your weapons and finish off the tiger running around in the jungle. (You might want to use the shotgun. If you make a running jump, you can get onto the big stone and shoot the tiger from there.) After the tiger is finished, it's time to collect some Ammo. Right from where you entered you can jump up to a platform and enter a hidden alcove to find some Uzi Clips. (See picture.) On another smaller rock, at the end of the path, you can collect a small Medi Pack, unless the monkey has already taken it. (Here is a Screenshot of the spot where you might find the Medi Pack.) Run into the next area located on the left when coming from the entrance. On the right, you can see a boulder on top of the slope. On the left there is a passage going through another tree. Here you'll find a lever. Use it. Then run up the stairs on the other side to avoid a boulder that has been triggered. Close to the greenery on the left is another tree trunk. Collect the flares and possibly the stolen Medi Pack there.or b. Other Path into Jungle
 You can also take another path into the jungle. Instead of taking the running jump into the opening, note the shallow waters left of where you landed with the slide. Running jump there and walk along till you can enter the jungle near the passage through the tree with the lever. In the corner on the right, you can pick up flares and later a small Medi Pack when the monkey brought it here. Go to the passage in the tree and use the lever, then turn and run up the stairs to avoid the boulder coming down from the other end. This done run into the other area on the right and find the Uzi Clips in a hidden alcove left of the archway. (See picture in previous paragraph if you are uncertain where that is.) On your way, you will meet the monkey stealing the Medi Pack. Return to the trunk to collect it.
Lever and Tiger
 Now run up the hill where the boulder came down after pulling the lever. On the left, you will find the door to a chamber opened. Enter it. Use the lever there. Exit the chamber and enter the next one on the left. Draw weapons. Shoot another tiger. Run up to the area on the right. You have to find the gap in the greenery where you can get through. (Picture) Jump onto the root on the left. Collect the Shotgun Shells. Exit the area at the lower part. Now go through the archway into the next passage. Shoot another tiger.
Fallen Tree Trunk
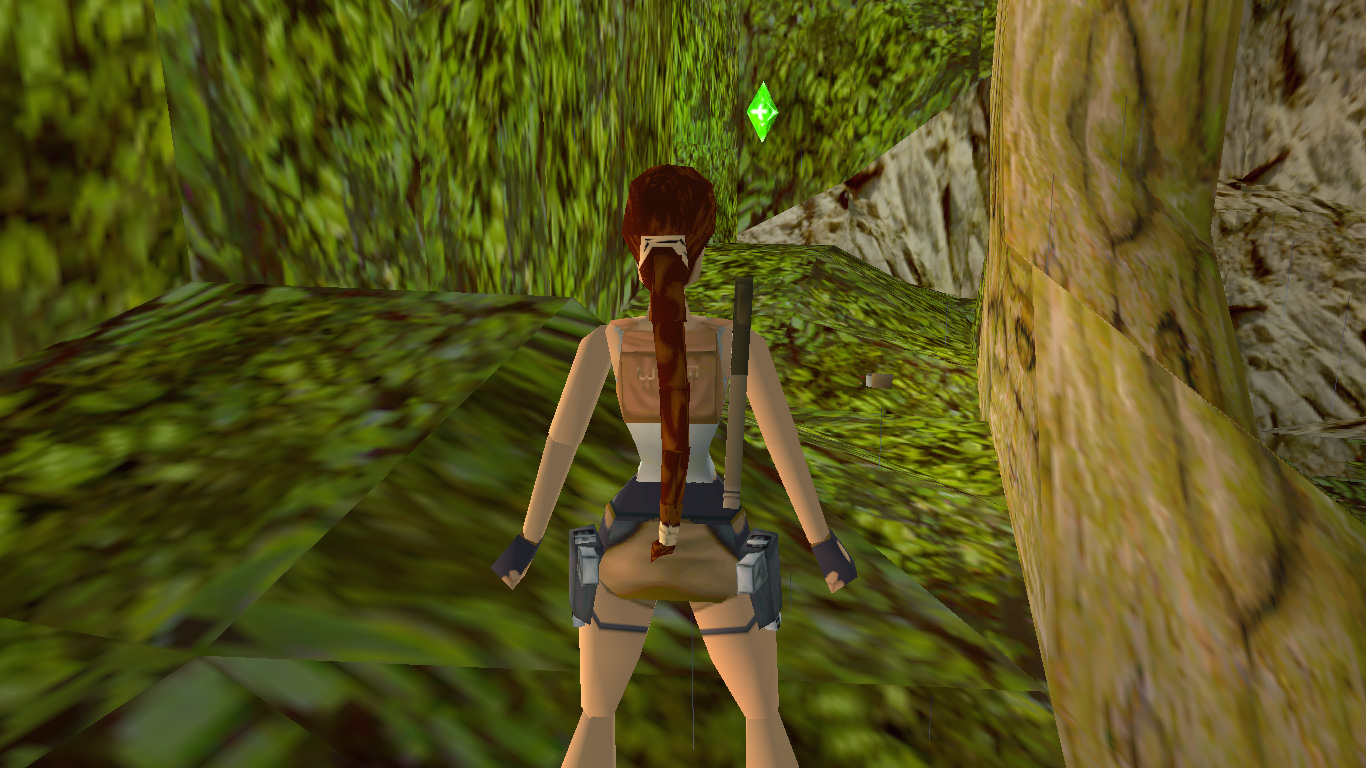
 Turn to the right. Collect the Shotgun Shells on the tree trunk in the corner on the right. Behind it is also some Uzi Clips. Avoid the hole with the fog in the middle of the chamber for now. Instead, crawl under the fallen tree trunk on the left. Follow the path to the right. Run up the fallen tree and collect the crystal. Shoot the tiger coming from above. Before you reach the stone pillars walk to the left edge of the tree trunk. Jump over to the tree branch. Follow the branch and jump over to the next on the left. Collect the MP5 Clips there. (Picture) Return to the fallen tree and follow it into the next chamber. Slide down on the left or right.
Secret (4):
Position yourself at the pit, looking towards the root of the fallen tree. Make a standing jump forward and grab the ledge. Pull yourself in. Crawl in and collect the flares and the MP5 Clips. Crawl back out. Hang from the ledge. Let go. Lara will slide into some spikes. Jump out to the right. Collect the Desert Eagle Clips on the stones in the left and right corners. Now enter the dark underground passage. Walk through the spikes. Climb out at the end. You are coming out of the foggy hole. Crawl back under the tree and then run over it to return to the root.
Spikes
Back at the tree root, climb into the next passage. Walk through the spikes. (You might notice that Lara is looking up to a gap where a monkey is running around, this is where we have to go soon.) Turn right and walk over the rocks. Jump over to the platform. Pull yourself up and collect the small Medi Pack. Hang from the ledge and shimmy right. At the end, drop onto the platform. Hang from the next ledge and shimmy further right. At the end, climb up to the right and collect the crystal. (Alternatively, when at the beginning of the spikes, turn around, walk as close to the edge as you can and jump up to grab the ledge. Pull up and collect the crystal. Don't forget to collect the Medi Pack when on the other side.) Turn left and slide down onto the platform. Shimmy left again and climb up.Dark Passage with Lever
Hold on to the ledge on the right and shimmy left. (Collect the Medi Pack on the platform if you haven't done so before.) Shimmy further left and pull yourself up. Climb onto the next walkway on the right. Follow the tunnel on the left up to the lever.Tiger and River
Climb down till you're back at the spikes. Down in the valley you can see a tiger running around. If possible, shoot him from up here. Slide down. (If you didn't collect the ammo here after getting the secret, do so now.) Run through the open gate into to next jungle area. In a niche between the trees on the left, you can find some flares. Then follow the way to the left. Don't stop or you will be hit by some boulders.Secret (6):
Turn around and go to where the boulders came out. On the left side step through the fern. Another boulder will roll past you on the right. You'll find a hole in the ground. Before it lies another small Medi Pack. Inside the hole is a spike trap. Turn around and hang from the ledge. Let go and grab the lower ledge. Enter the chamber and collect the crystal as well as the flares. Turn around and go back to the edge. Make a standing jump onto the block. Turn around and jump up to the higher ledge. Climb out again and run back down.
a. Diving Inside
 Jump into the water and dive through the green opening. Turn right and dive through the open gate. In the next chamber swim towards the surface. Climb onto the bridge. Use both levers you'll find there. Dive through on of the open gates into the next chamber. Collect the flares on the platform in the middle of the pool. Swim towards the platform ahead and climb out. Run into the passage and use the lever there. (The chamber on the right is only of use if you've taken the second route!)
or b. Using a Slide
With a running jump, you can reach the little island. Climb onto the highest peak. Jump up to the ramp above and pull up. Use the lever you'll find there. Return to the little island. Now jump over to the wall where the door has opened. You have to grab the ledge and pull up. Climb up to the right. Climb up to the opening and enter. Step out on the other side. If you drop into the water, the current will take you back to the underwater cave from the beginning. Climb over the branches till you reach the slide. Use it. Follow the path till you reach the stairs in the big chamber. Climb onto the first pillar on the left. Turn right and make a running jump to reach the next platform. Collect the crystal. Drop down into the chamber and shoot the two tigers. Climb onto the high block at the foot of the stairs. Make a running jump onto the platform in the middle of the room. Continue to the platform at the waterfall. Now jump to the last block at the exit on the left side. In the next chamber, you'll find some flares on the pedestal in the middle. Swim to the door on the opposite side. On the right, you will find a movable crate. Pull it out twice. This will open the door. Enter the chamber and use the lever you'll find inside. This will open a trapdoor behind the crate. Jump in and dive into the next chamber. Pull up onto the bridge. Use both levers you find there. Dive through one of the open gates into the next chamber.The Big Chamber
Run into the passage ahead and use the lever. Take the passage on the left to get into the water-filled chamber. (If you have chosen the first path swim to the far left corner. Run up the stairs and climb on the last pillar on the right. Turn right and make a running jump onto the platform. Collect the crystal. Jump back into the water.) Swim towards the waterfall and climb into the passage there. Climb up the ladder. Run outside and turn right. Climb up to the higher level. Enter the passage and use the lever. Return outside and jump back into the water. Dive into the underwater passage opposite.On the Roof
Follow the passage and climb out at the end. Shoot the tiger waiting for you.Bug (PS2):
When I replayed TRIII to revise the walkthrough, this time using the PS2 for the first time, I encountered a new bug. I did climb out of the water and I chose the shotgun through the inventory. The tiger then pushed me into the water and Lara started shooting while swimming, without me pressing any buttons. But she wouldn't aim at the tiger, nor would she stop. By diving down, I forced her to put the weapon away.
Treacherous Swamp
 Swamp
SwampStrategy
Swamps can be identified easily. If you see a muddy surface, examine it. If it's moving, it is treacherous.
If Lara steps into a treacherous swamp, she will begin sinking. And once her head is under the surface, her Breath Bar will start running down. In some cases, if she has not sunk too far, she can get out again.
It is best to avoid swampy areas, or if it can not be helped, move through it purposefully and leave it again quickly to avoid drowning.
Learn More
To read more on the swamp, please visit WikiRaider.